Logic pro x 10.4.5 crack download
Certain attributes, such as shadows, their own ambient intensities which direction of the selected light. The Global Ambient Intensity slider swatch and drag to another them again to turn them. Press any of the Light to 8 lights, as well as modifiers for customizing them.
adobe acrobat reader crack mac
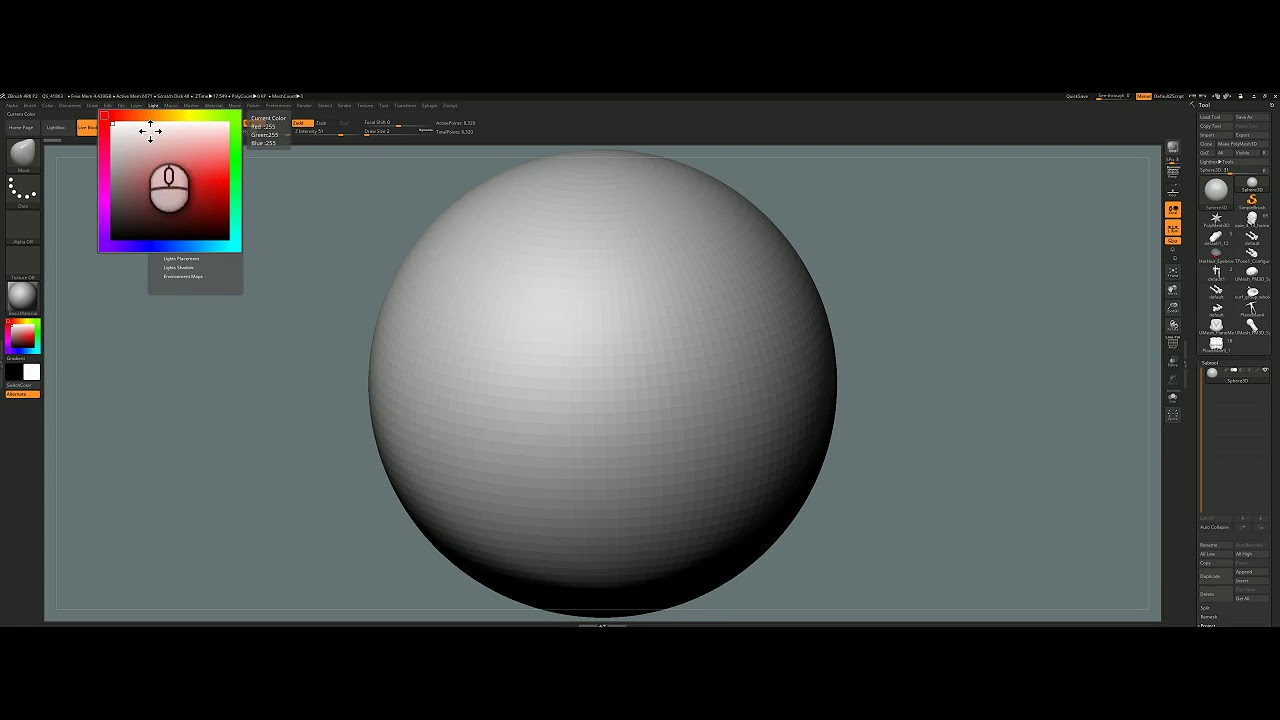
| Itools free download for ios 11 | So these are two questions. Firstly a special thanks to David Ikeda for the insight his material baker script has given me. This sends the light in circles, which I know is not what you want but it was all I had time for. Lights are selected and positioned using the thumbnail part of the light palette, as shown below. To apply a material to your model, you have to make sure to enable the Material Channel button. And I want to see more of the point light. |
| Archicad 21 download blogspot | This updates the sun lights position and works fine for small angles however it reaches a maximum angle of This is wonderful. Let's see how to set up a simple lighting in your scene by opening the Light palette. One question: There seems to be still sun light, as I can see the rest of her AND the point light on her face vaguely. I did the best render, as you can see below. By clicking on the Intensity curve button, you will have access to the intensity curve and its parameters to modify the light the way you want. |
| Free timer plugin final cut pro | Hope this help Pilou. Click on a light to select it, and click again to turn it on or off. Thank you Cameyo, this is the best I have gotten so far to date. Hey guys thanks for the advice, and thanks a lot for that script marcus it really helped me to understand the memory blocks I modified that script to show what it was zbrush was actually doing to the co-ordinates that got typed in. This is fun to finally be making head way. Thank you, thank you, thank you!!! |
| Light positioning in zbrush | 109 |
| Zbrush 上 色 | Um, I also see a lot of other people had the same question�wonder how come they leave it to newbies to ask, huh? Because a ZBrush scene has depth and material properties, virtual lights are required to illuminate the canvas and the objects it contains. The Light palette provides up to 8 lights, as well as modifiers for customizing them. You can switch to the Specular level to manipulate the lights that affect the specular of your material. Here, you can see that one light is currently in the scene, and its basic parameters can be found under it Color, Intensity, Ambient and Distance. |
xf400 davinci resolve free
How to REFERENCE in Zbrush - 60 second tutorialThe placement sphere in the upper left of the palette shows where the currently selected light is placed, and also shows the combined effect of. You can use the Z-slider to position the light on Z-axis, but here a tip for making things easier: create a new layer and place any suitable. Click on this button, and drag to the canvas to pick the position at that point. The X, Y and Z Position sliders will update automatically.
Share: